As mentioned in an earlier Article, The sole intention of my Windows 10 VM was for MAME emulation. With MAME having such a large Rom set, I needed additional space in which I purchased a 1TB SSD for that specific purpose. I had no other intentions with the space but to pass through to Windows 10 and setup HyperSpin. Researching the subject lead me down a few different paths that ultimately left me with nothing more than a botched VM setup requiring a new install and a headache.
With some additional help on the Proxmox forums, it became apparent you cant just take a new physical HDD, install it, then pass it through to a VM to handle it. You have to partition it with a format that Proxmox can recognize, set it up, then can you finally pass it through.
So for those of you wanting to add additional HDD’s/Storage to your Proxmox Server, hopefully this guide can assist you in getting that setup, but before diving in you might want to give a look to this Proxmox wiki on Storage Partitions here.
Lets get started by opening up command line via the Shell or puTTy, and lets view what particular drives we have available (This is assuming you have already installed the new drive).
fdisk -l
You should see something like this:
Disk /dev/sda: 21.5 GB, 21474836480 bytes
255 heads, 63 sectors/track, 2610 cylinders, total 41943040 sectors
Units = sectors of 1 * 512 = 512 bytes
Sector size (logical/physical): 512 bytes / 512 bytes
I/O size (minimum/optimal): 512 bytes / 512 bytes
Disk identifier: 0x00000000
Disk /dev/sda doesn’t contain a valid partition table
we are looking for the drive without a valid partition table, but I’m sure you will recognize it by size.
Lets take note of the Disk’s ID above “/dev/sda” and input the following command:
cfdisk /dev/sda
(you may be asked to Select a Label Type, Choose DOS)
- Use the cursor to select New and press Enter
- Select Primary
- If wanting to partition the entire Drive simply press Enter (You can manually adjust the size)
- Now move the cursor to Write and press enter
- You can Now Select Quit
Once back at the command prompt lets create the Physical Volume with the following command:
pvcreate /dev/sda1
We are now going to add this drive to a Volume group and name that group with the following command:
vgcreate Data-Storage /dev/sda1
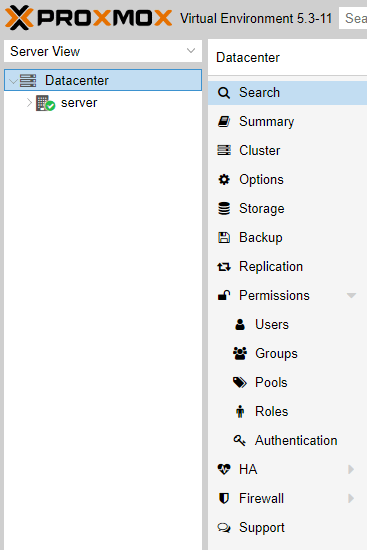
Back in the Proxmox click on “Data Center”
Click on the Storage page
now Click Add -> LVM
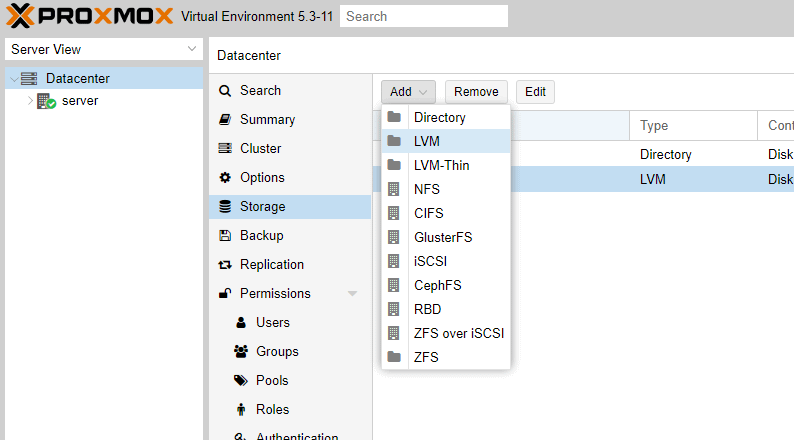
ID: Pick A Name (I chose mameDrive)
Base Storage: Existing volume groups
Volume Group: Data-Storage
Content: Disk image, Container
Enable: Check

Now Click on the Server Node and Select Disks Page and you should see the disk you just partitioned here:

Click on the partition sub-tree “LVM” and you should see “Data-Storage” Followed by the Name of the partitioned HDD.

Finally if you look in the Left hand pane you should now see the new Drive titled whatever you gave it as a new storage device in the Node.

Go back to the Hardware Option under our Windows 10 Install
Then choose Add –> Hard disk and give it the following settings:
Bus/Device: Sata
Storage: mameDrive
Size: 930GB (I gave it the entire size of the disk you can choose what you want)
Cache: Write Back (Improves speed in Windows 10 VM’s)
Now that we have added the new Hard Drive its time to get it working so go ahead and Start your Windows 10 VM
search for: Create and format hard disk partitions
You have now opened Disk Management, you should see the disk listed shaded black with the volume listed as “Unallocated” Select the drive, right click and select “New Simple Volume” follow the Wizard and when completed you should now see the drive in the “This PC” Menu


0 Comments